Easy Saree Draping Tutorials to Try
Make wearing saree an effortless process with the help of these easy-peasy saree draping tutorials. With this guide in place, you will surely turn some heads!

Sari draping requires some skill and reading up on loads of easy saree draping tutorials. It's an art form that can range from a few minutes to several meltdowns. However, if you do manage to get the hang of it, a saree is the one outfit that is always safe to wear to a traditional gathering!
The drape, when done conventionally, exudes unmatched elegance, but when combined with contemporary elements, it can be reconfigured in novel ways. There are a variety of choices to choose from, ranging from pre-draped variations that reduce the hassle of draping silk weaves to substitutes that require starting the modern saree draping process from scratch. However, using this step-by-step manual, you can perfect the technique of wearing a saree perfectly in no time.
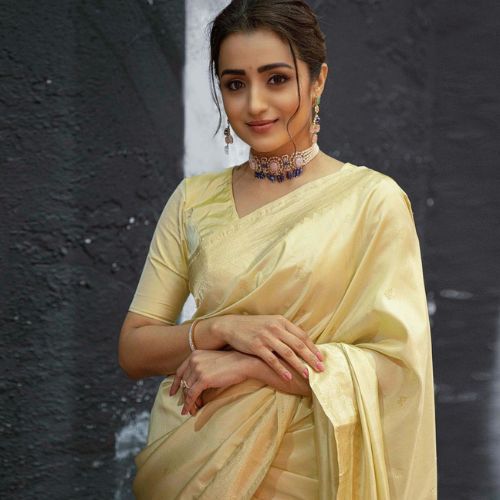
6 Easy Saree Draping Tutorials: Step-by-Step Guide
1. Classic Saree Draping Tutorial:
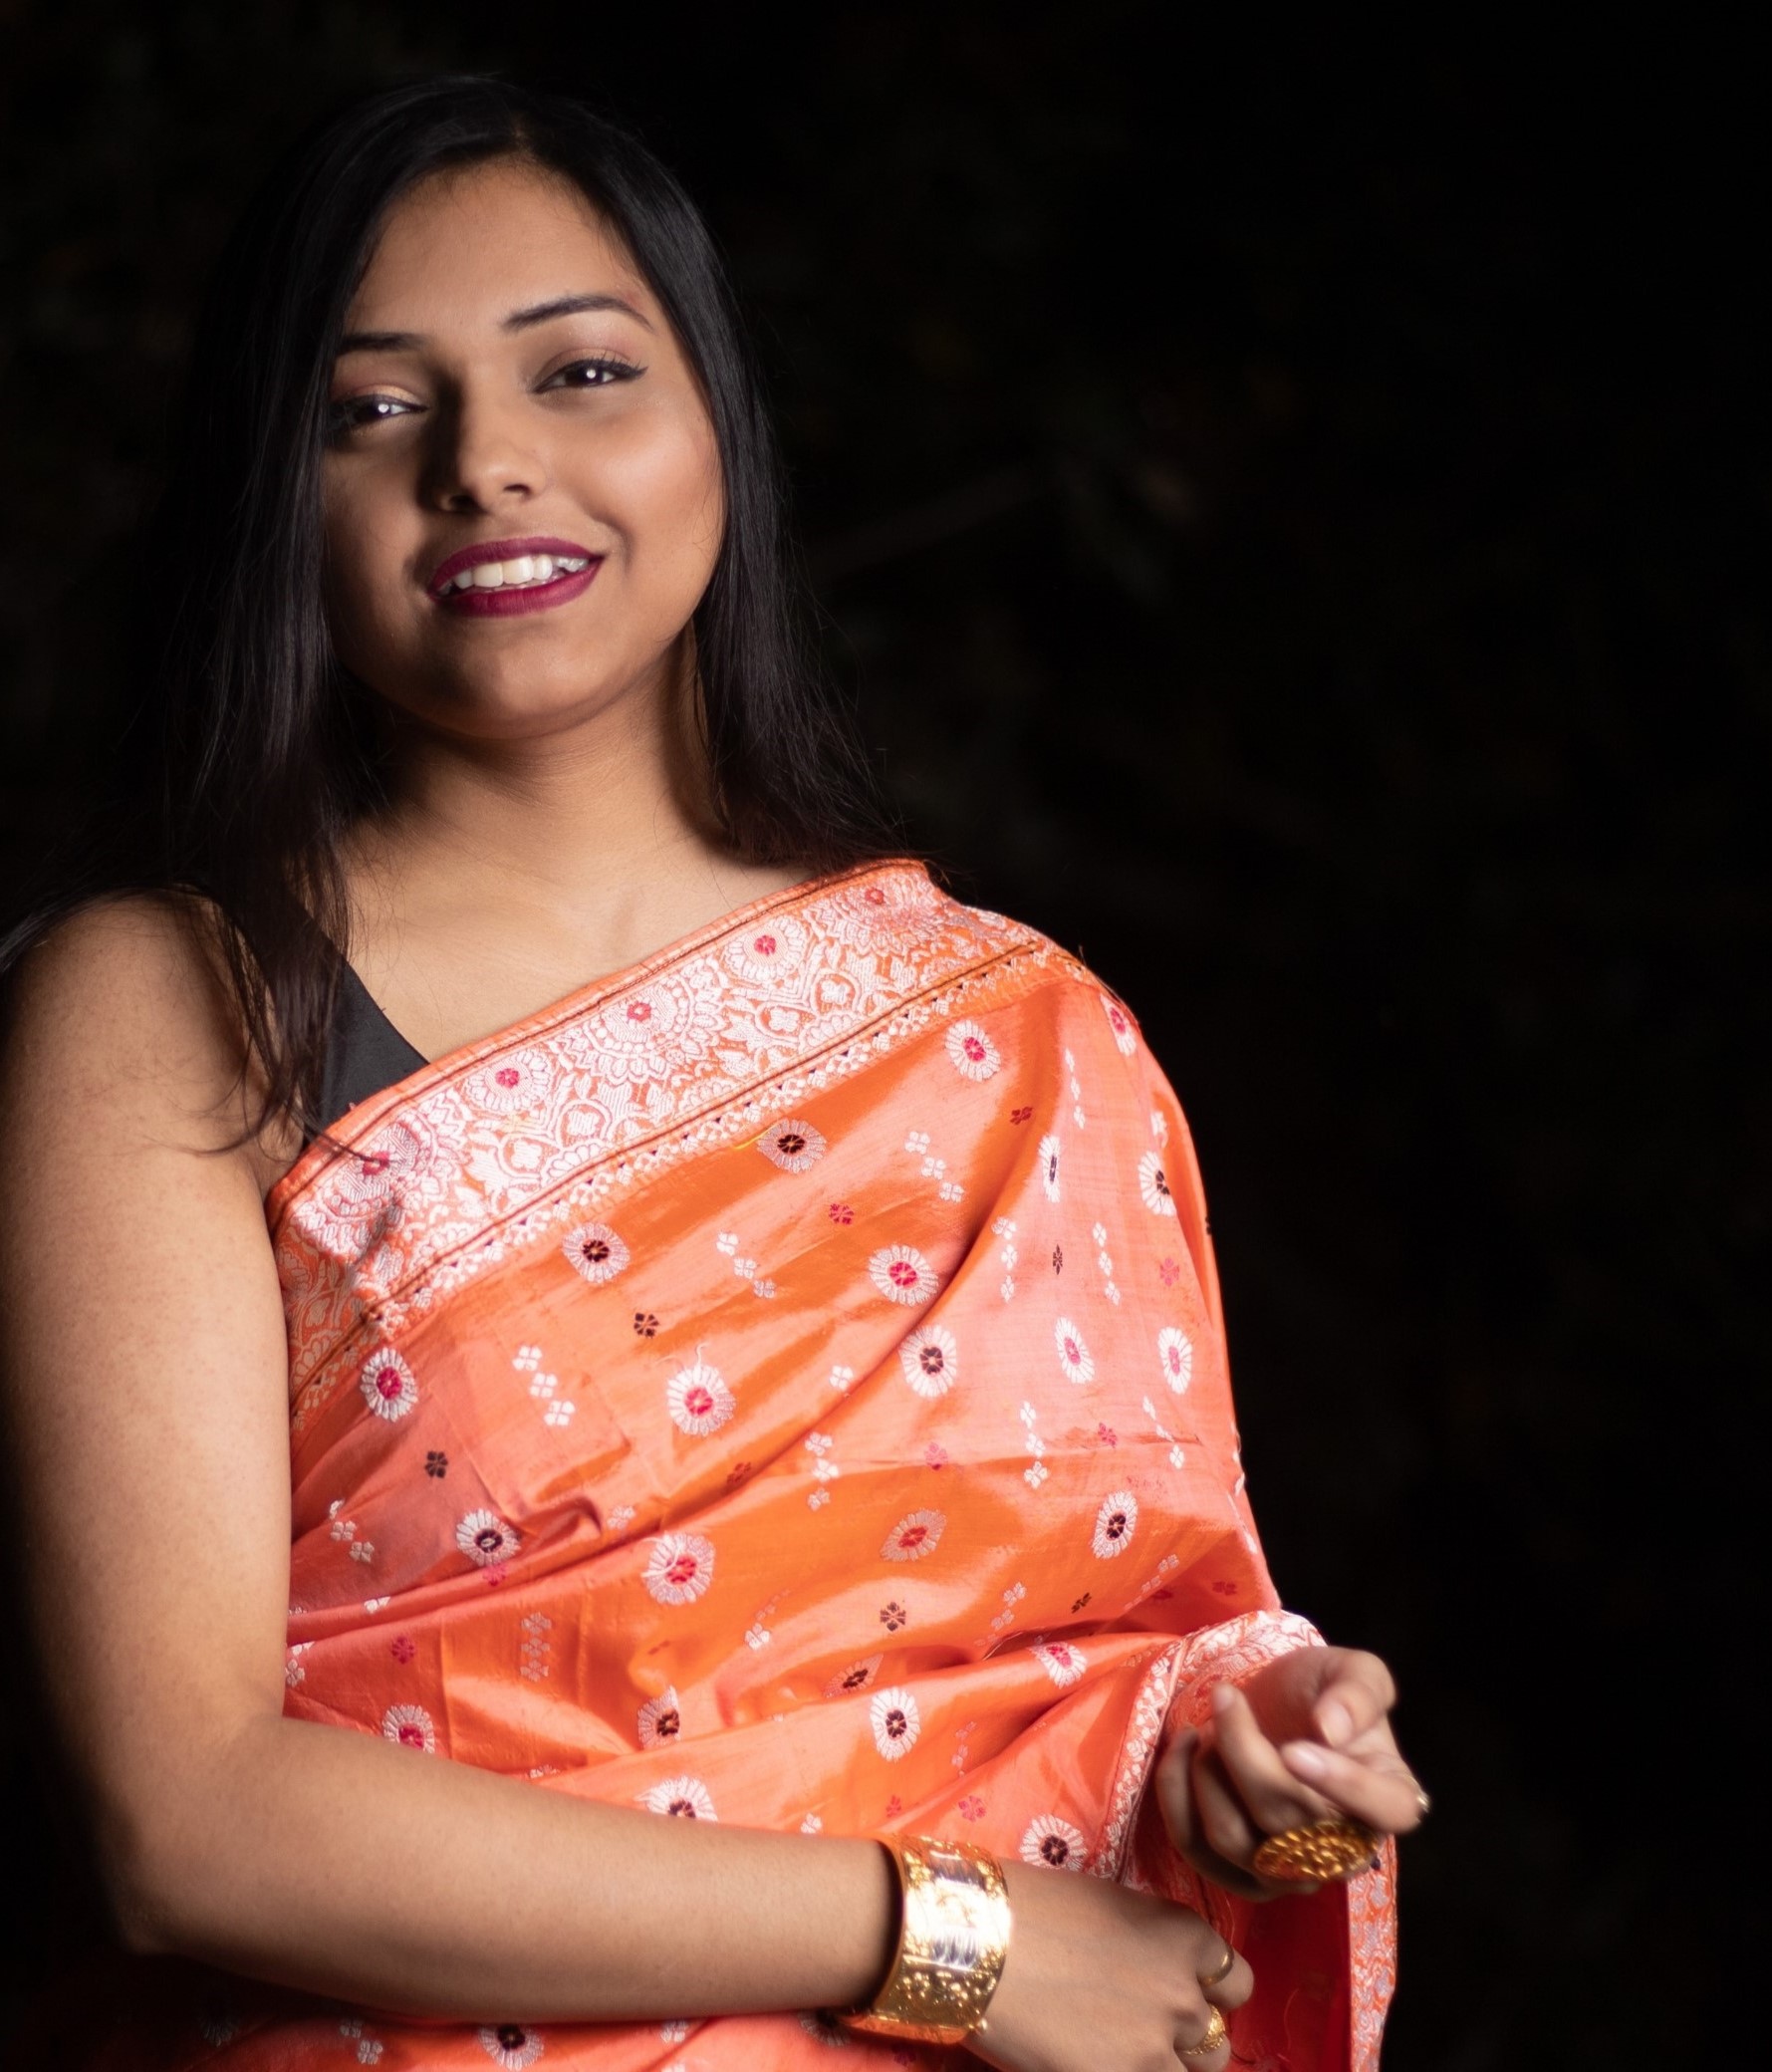
The classic style of draping a saree is probably the most widely followed and easy way to drape a saree. It is simple, quicker than most, and also looks stunning with modern and traditional silhouettes and materials alike.

If you have a saree that compliments your body type and is perfect for the occasion, it will instantly elevate your outfit and make you feel all the more confident. All you have to do is be familiar with the process and follow this step-by-step guide, and you will be all set to slay the traditional saree look!
Step 1: Starting just below the belly button, tuck the end of the standard (non-pallu) end. To turn around and return to your starting position, swaddle from the left side and continue the turn from behind.
Step 2: Pull the saree ahead and start pleating according to a fingertip to thumb finger length.
Step 3: The number of pleats you should make will rely on the material. Place the safety pin towards the left side of the midsection and tuck the pleats into the skirt. The saree will remain put when you move around thanks to this trick.
Step 4: You can now choose to pleat the remaining drape together or let it flow.
Step 5: Simply move the pallu from underneath your right arm to the left side of your shoulder and pin it there to give the idea that you are floating. Wait till the end or hold it at the forearm. It comes down to making a decision.
Step 6: If the saree has a border as the first pleat for the pleated appearance, pull the pallu out from under the right arm and make vertical pleats of 5 to 6 inches with the border, proceed the entire length of the saree.
Step 7: Now, attach it to the left shoulder. This style is a basic to try before you move on to other saree draping tutorials.

2. Dhoti Saree:
Once you know the classic drape and are ready to explore draping a saree in different styles, you can move on to this one. This style of saree is a popular choice for traditional events or weddings since it's classic, traditional, and effortlessly pretty! Moreover, its draping tutorial is quite easy, as long as you get the hang of the technique.
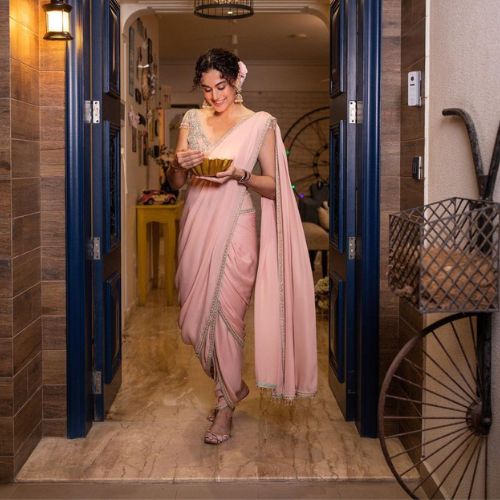
This style is the perfect balance between something dressy and something that isn't too over the top. It looks simple, elegant and yet is different and so it makes a statement.
Step 1: Hold the plain end of the saree as you begin, with the saree behind you.
Step 2: Tie a knot at one side of the waist, above the stomach or belly button, leaving a little more than a yard at the left end.
Step 3: Grab the shorter end and pull the loose end out from between your thighs. If required, create tiny pleats and fasten them in the back. Pin it to keep it secure.
Step 4: Making pleats, run your fingertips along the saree's remaining width.
Step 5: The measurement of the pleats can be decided by checking how much of the drape is remaining. These should be placed at the knot on the left side of the midsection.
Step 6: Keep in mind that the dhoti-style saree should end above the ankles for a comfortable experience.
3. South Indian Handloom Saree Drape:
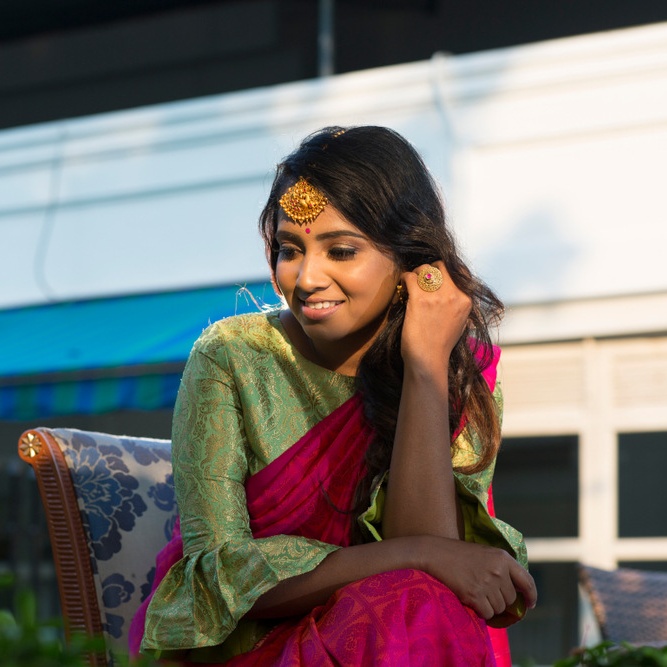
South Indian sarees, usually Kanchivaram sarees are made of silk and so are thicker and heavier when it comes to draping. They don't fall naturally and so you need to follow a specific draping style to nail this look.
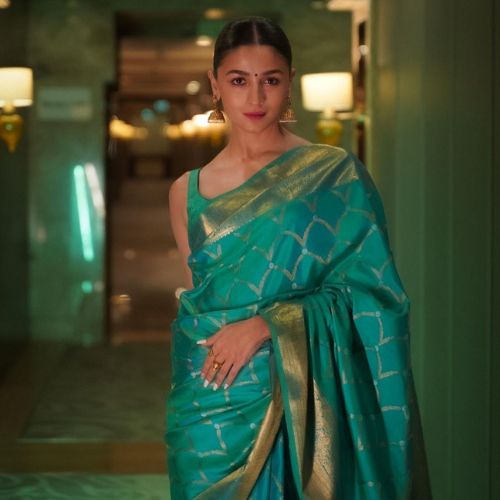
Step 1: Place the entire saree behind you, bringing one end up from the left side and the other over to the right.
Step 2: Create two to three broad pleats, paying close attention to how the gold border is highlighted. This should go in your waistband.
Step 3: This technique has fewer folds than the others. Therefore, precisely correct these before moving on to the next step.
Step 4: Using the leftover saree, make thin pleats along the pallu border on the left.
Step 5: Use a safety pin to fasten the folds at the left side of your shoulder. Once you've mastered the easy saree draping tutorials mentioned above, this one should be a breeze.
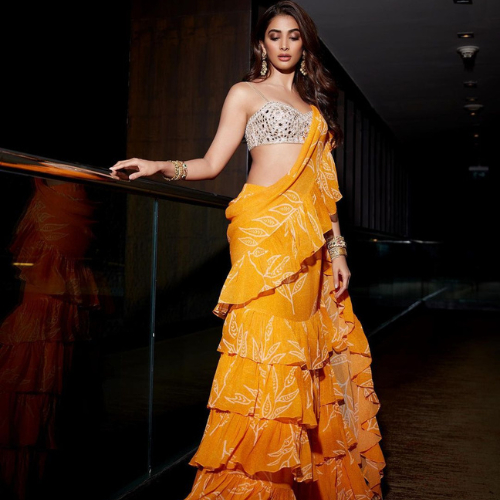
4. Lehenga Saree Draping:
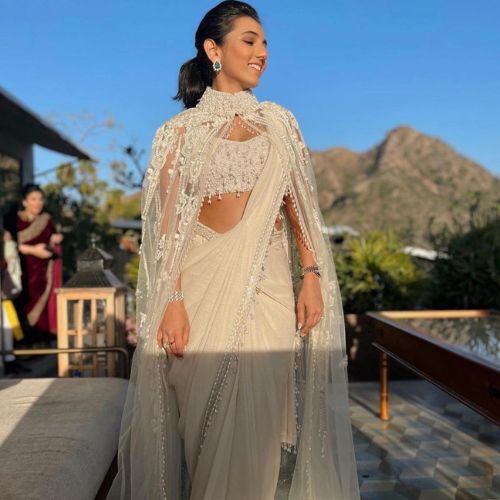
A great way to drape your saree takes inspiration from the traditional lehenga choli silhouette and aims to create an illusion of the same. The best part is that it gives the look of a lehenga but the convenience and comfort of a saree! Even though this may not have the extensive flare of a lehenga always, it will surely give the impression of one in some way. This silhouette is increasingly popular among brides and wedding guests, because of how stunning it looks while also being accessible. To learn how to drape a saree like this, follow these steps:
Step 1: Put the part of the drape carefully around your waist for the first round.
Step 2: After completing the first round of draping, throw the cloth around the back, saving some of it for the pleats.
Step 3: The pleats in this style are made at the rear rather than the front. The idea that the saree is a lehenga is created by the back pleats.
Step 4: Make vertical pleats like you would for the Nivi style with the leftover saree.
Step 5: Over your left shoulder, toss them to the rear and pin them with a safety pin.
Step 6: To make sure it is all unbroken in the front, pull the right side of the pleated pallu towards the right side.
Step 7: The remaining fabric is pleated at the rear and tucked into your inner skirt from the front end.
5. Belted Saree:
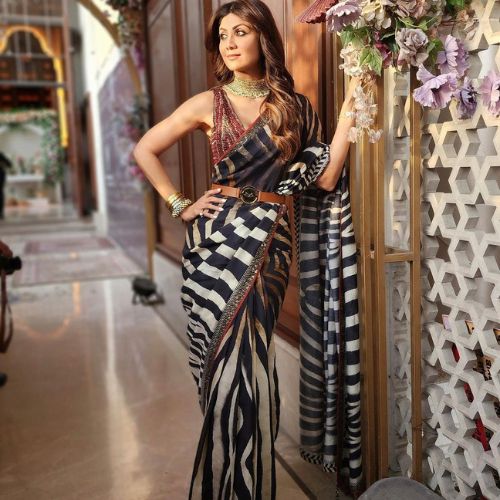
Next on the list of easy saree draping tutorials is a belted saree that brings a modern twist to the classic drape. Inspired by more modern silhouettes and flare silhouettes. The saree lives fitted along the waist, cinched with the help of a belt and spreads into a dramatic flare near the bottom. Moreover, the belt or waistband provides an extra element of style that instantly elevates any classic saree and adds a unique edge. If you're aiming for a fun and playful yet chic look, the belted saree is the way to go!

Step 1: Begin by following a similar drape to the traditional, classic saree drape. Tuck the non-pallu end starting just below the belly button. Swaddle from the left side and continue the turn from behind to turn around and return to your starting position.
Step 2: Start pleating the saree according to your preferred length, using your thumb and fingers as references. For anyone who has mastered the classic style drape, this should be extremely easy.
Step 3: Pin the pallu on the left side of your shoulder from underneath your right arm.
Step 4: Pull the pallu out from under your right arm, and if your saree has a border, then form vertical pleats with the border that are 5 to 6 inches apart throughout the full length of the saree. After that, fasten it to your left shoulder.
Step 6: Lastly, bring out the belt, and once everything is perfectly in place, secure it with the help of a stylish belt. The belt will hold the drape in place while adding an element of class.
6. Retro Style Saree Drape:

A retro style drape is a classic and timeless look, just like the same suggests. It draws inspiration from the Bollywood looks of the past, and gives them a modern touch while keeping the simplicity and elegance intact: With minimal pleating and a focus on the drape, the retro saree is perfect for those who want to channel vintage glamor. With its understated elegance and timeless appeal, this saree is one you should definitely bookmark!
Step 1: First off, because of its form-fitting texture, we'd suggest a chiffon or georgette saree with a thin border works best.
Step 2: The comparatively simple saree can be made up for by wearing a sequined blouse.
Step 3: Put the sari in the standard round of waist tucking. Make just a few pleats as you begin to pleat. Tuck them under your abdominal button to keep them secure.
Step 4: Except for doing the tuck at least four to five inches away from the first one, take the rest of the saree and wrap it around your midsection as you did with the first round.
Step 5: Repeat the exercise, but this time the tuck must be five inches higher than the second level.
Step 6: Make thin, vertical pleats like the Nivi form with the leftover saree. Pin it up close to your left shoulder from beneath your right arm.
These easy saree draping tutorials are an excellent resource for beginners and experts alike. They're ideal for anyone looking for a more polished, professional, and put-together look. With this guide in place, even those who are new to the world of traditional sarees can learn how to style one effortlessly and elegantly. Whether you prefer the classic Nivi style or want to experiment with a more contemporary style, these easy saree draping steps will help you master the art in no time. With the right resources and a bit of practice, anyone can cultivate the art of wearing a saree flawlessly and feeling confident and elegant in this timeless garment.


 JOIN OUR WHATSAPP CHANNEL


